Windows 11 does not include a native app to display CPU temperature, so users need a third-party tool or the system BIOS to get accurate readings.
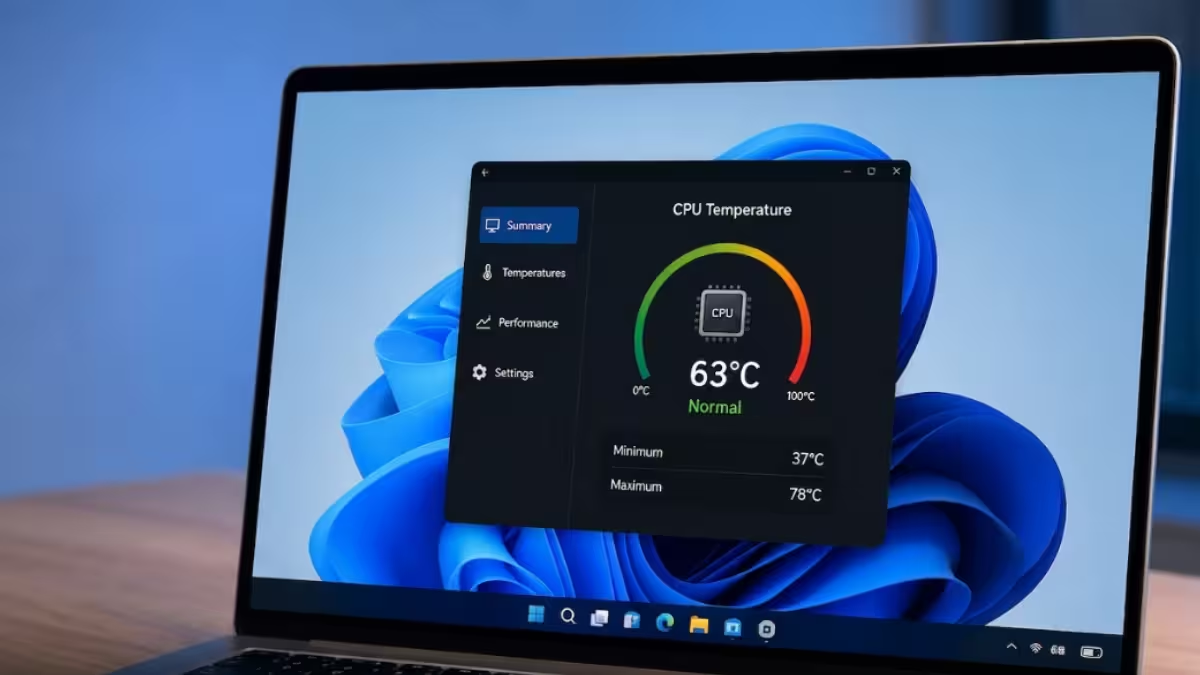
As a quick reference, idle temperatures normally sit between 30°C and 50°C, while load temperatures during gaming or rendering typically fall between 60°C and 85°C depending on the cooler and CPU model.
Why Windows 11 Does Not Show CPU Temperature Natively
Microsoft has never added a built-in temperature monitor to Windows, leaving this task to motherboard vendors and independent software developers.
- Task Manager and Settings only show CPU usage and speed, not temperature.
- Motherboard manufacturers rely on their own sensor chips, which need dedicated software to read.
- Third-party tools pull data directly from these sensors using low-level access.
- BIOS/UEFI always shows temperature since it reads sensors before the OS loads.
Signs of CPU Overheating Without a Reading
Even without an exact number, a few symptoms point to a CPU running hotter than it should.
- Frequent freezes or unexpected restarts during normal use.
- Automatic shutdowns that happen specifically under heavy load.
- Fans running at high speed constantly, even during light tasks.
- Sluggish performance despite low CPU usage in Task Manager.
- Blue Screen of Death errors that appear during gaming or rendering.
Method 1: Check CPU Temperature Using HWiNFO
HWiNFO is one of the most accurate free tools for reading CPU sensor data on Windows 11.
- Download HWiNFO from the official HWiNFO website.
- Run the installer and choose the regular version when prompted.
- Select Sensors-only mode when the startup dialog appears.
- Locate the CPU (Tctl/Tdie) or Core Max value under the CPU section depending on whether the system uses AMD or Intel.
- Watch the number while running normal tasks to see idle and load temperatures.
HWiNFO also logs minimum, maximum, and average values, which helps when comparing temperatures before and after applying a fix like reapplying thermal paste.
Method 2: Check CPU Temperature Using Core Temp
Core Temp is a lightweight free app that shows per-core temperature directly from the system tray without needing the main window open.
- Download Core Temp from the official Core Temp website.
- Run the installer and deselect any bundled offers shown during setup.
- Launch Core Temp and check the Temperature Readings section on the main screen.
- For a quick glance, hover over or click the Core Temp icon in the system tray to see each core’s temperature.
Core Temp updates continuously, so the numbers shift in real time as workload changes.
Method 3: Check CPU Temperature Using MSI Afterburner
MSI Afterburner is normally used for GPU overclocking, but it can also display CPU temperature as an on-screen overlay.
- Install MSI Afterburner and its companion app RivaTuner Statistics Server, which installs automatically alongside it.
- Open Afterburner and click the gear icon to open settings.
- Go to the Monitoring tab and find CPU temperature in the list of sensors.
- Tick the checkbox Show in On-Screen Display next to the CPU temperature entry.
- Launch any game or app to see the live temperature overlay in the corner of the screen.
This method works well for users who want to monitor temperature during gaming sessions without alt-tabbing to another window.
Method 4: Check CPU Temperature Using BIOS/UEFI
The BIOS shows the most stable idle temperature reading since no background software is running.
- Restart the computer and press the BIOS key shown on the boot screen, usually Del or F2.
- Navigate to the Hardware Monitor or PC Health Status section, which varies by motherboard brand.
- Look for CPU Temperature listed next to fan speed and voltage readings.
BIOS temperature is always close to idle since the system has minimal load at that stage, so it should not be compared directly to in-game or stress test readings.
Method 5: Check CPU Temperature Using PowerShell (No Software)
Windows 11 can pull a temperature reading through PowerShell on systems where the motherboard exposes it via WMI, avoiding any third-party install.
- Press
Win + S, type PowerShell, and run it as administrator. - Enter the following command:
Get-WmiObject MSAcpi_ThermalZoneTemperature -Namespace "root/wmi"- Note the value under CurrentTemperature, which is returned in tenths of Kelvin.
- Convert it to Celsius using
Celsius = (Kelvin / 10) - 273.15.
This method does not work on every system since not all CPUs and motherboards expose a thermal zone through WMI, in which case the command returns no data or an error.
If the command returns Not supported instead of a value, the motherboard does not implement that ACPI thermal zone, which is common on many modern laptops and desktop boards. In that case, use one of the software methods above instead.
What Causes High CPU Temperature Readings
- Dried or poorly applied thermal paste loses effectiveness over several years.
- Dust buildup in the heatsink fins blocks proper airflow.
- A CPU cooler that is undersized for the processor’s TDP struggles under load.
- Case airflow with too few intake or exhaust fans traps heat inside.
How to Keep CPU Temperature Under Control
A few practical steps reduce sustained CPU temperature once high readings are confirmed.
- Reapply thermal paste every two to three years since it dries out and loses efficiency.
- Clean dust from the heatsink fins and case fans on a regular schedule.
- Add or reposition case fans to improve intake and exhaust airflow.
- Use a cooling pad for laptops to add airflow beneath the chassis.
- Undervolt the CPU or limit boost clocks for a lower thermal ceiling, which is best suited to advanced users.
Frequently Asked Questions
What is a normal CPU temperature in Windows 11?
Idle temperatures typically stay between 30°C and 50°C, while load temperatures during gaming or rendering usually range from 60°C to 85°C depending on the cooler and CPU model.
Is 90 degrees Celsius too hot for a CPU?
Most modern CPUs are rated to handle up to 95°C to 100°C safely, but sustained temperatures near 90°C often signal a cooling issue that should be addressed.
Can I check CPU temperature without installing software?
Yes, the BIOS/UEFI screen shows CPU temperature without needing any installed program, though it only reflects idle conditions.
Does Task Manager show CPU temperature?
No, Task Manager only displays CPU usage, speed, and process-level performance data, not temperature.
Which is the best free tool to check CPU temperature?
HWiNFO and Core Temp are both reliable free choices, with HWiNFO offering more detailed sensor data and Core Temp offering a simpler system tray view.
Related CPU Guides
- How to Fix CPU Over Temperature Error on Windows PC (Press F1 to Run Setup)
- How to Enable Hidden CPU Boost Mode on Windows 11
- How to Enable Low Latency Profile (CPU Boost) on Windows 11 Using ViveTool
High CPU Usage Fixes
- How to Fix MSEdgeWebView2.exe High CPU Usage on Windows
- How to Fix Svchost.exe High CPU Usage in Windows 10/11
- Microsoft Edge Update Fixes High CPU Bug on macOS, Patches Android Security Flaw
More

