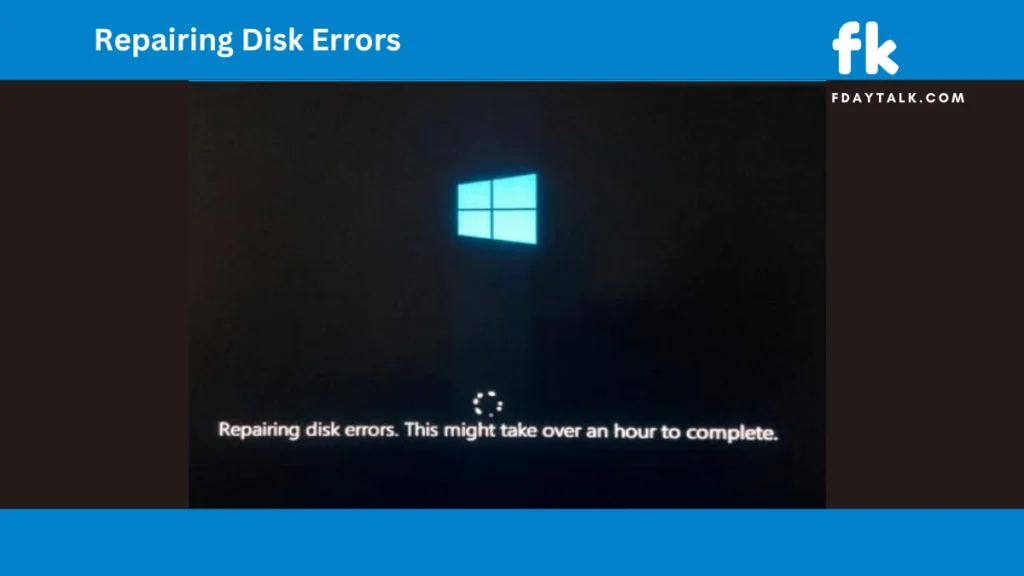
If your PC is stuck on the message “Repairing disk errors. This might take over an hour to complete”, and keeps restarting into the same screen, you may be dealing with file system corruption or SSD issues. This problem can be caused by excessive disk usage, bad sectors, or even a failing drive. Here’s how to fix it and recover your system without losing your data.

Causes of the “Repairing Disk Errors” Loop
- Low Disk Space: SSDs require at least 10-15% free space for optimal performance.
- Corrupt System Files: Damaged Windows files can prevent proper booting.
- Bad Sectors on the Drive: Physical damage or excessive wear can cause read/write errors.
- Failed Automatic Repair: Windows might repeatedly attempt to fix an issue it can’t resolve.
For Windows Systems
Step-by-Step Fixes
1. Force Shutdown and Restart
- Hold the power button for about 10 seconds to force shut down.
- Wait for a minute and turn it back on.
- If the error persists, proceed to the next steps.
2. Boot into Windows Recovery Mode
- Restart your PC and press F8, F11, Shift + F8, or ESC during boot (varies by manufacturer).
- Select Advanced Options > Troubleshoot > Command Prompt.
- If you can’t enter Recovery Mode, create a Windows Installation USB using another computer and boot from it.
3. Run CHKDSK to Repair the Drive
- In the Command Prompt, type:
chkdsk C: /f /r - Press Enter and allow the scan to complete.
- If CHKDSK gets stuck, skip to the next step.
4. Disable Automatic Repair
- Open Command Prompt from Recovery Mode.
- Type the following command:
bcdedit /set {default} recoveryenabled No - Restart your PC and see if Windows boots normally.
5. Use System File Checker (SFC) and DISM
- If you manage to boot into Windows, open Command Prompt as Administrator.
- Run:
sfc /scannow - If the issue persists, use:
DISM /Online /Cleanup-Image /RestoreHealth
6. Free Up Space on the SSD
Since low storage can cause system instability, try deleting unnecessary files:
- If you can’t boot, use the Notepad trick:
- Boot into Windows Installation USB.
- Open Command Prompt and type:
notepad.exe - In Notepad, click File > Open, navigate to your files, and move them to an external USB drive.
- Delete unnecessary files to free up space.
7. Check SSD Health and Firmware
- If you suspect a failing SSD, use manufacturer tools:
- Samsung Magician (Samsung SSDs)
- Crucial Storage Executive (Crucial SSDs)
- Intel SSD Toolbox (Intel SSDs)
- Update your SSD firmware if available.
8. Perform a Clean Installation (Last Resort)
If all else fails and your drive is still functional, reinstall Windows:
- Boot from a Windows Installation USB.
- Click Install Now.
- Delete all partitions and select “Unallocated Space” to reinstall Windows.
- Restore your data from backups.
For macOS Systems
1. Boot into macOS Recovery Mode
- Restart your Mac and immediately press Command (⌘) + R until the Apple logo appears.
- Select Disk Utility from the macOS Utilities menu.
2. Run First Aid to Repair the Disk
- In Disk Utility, select your startup disk (Macintosh HD).
- Click First Aid and let it scan for disk errors.
- If it finds errors, follow the prompts to repair them.
3. Use Terminal to Run FSCK
- If First Aid fails, go back to macOS Utilities > Terminal.
- Type:
fsck -fy - If it says “File system was modified,” run the command again until no modifications are needed.
4. Reinstall macOS (If Necessary)
- If your Mac still won’t boot, go back to macOS Utilities.
- Select Reinstall macOS and follow the prompts.
Final Thoughts
If you’re stuck in the “Repairing disk errors” loop, try CHKDSK, disabling automatic repair, freeing up space, and running SFC/DISM on Windows. For macOS, use Disk Utility and FSCK to resolve issues. If the problem persists, backup your data immediately and check your SSD’s health. A failing drive might need replacement to prevent further data loss.
Did these solutions help you? Let us know in the comments!

