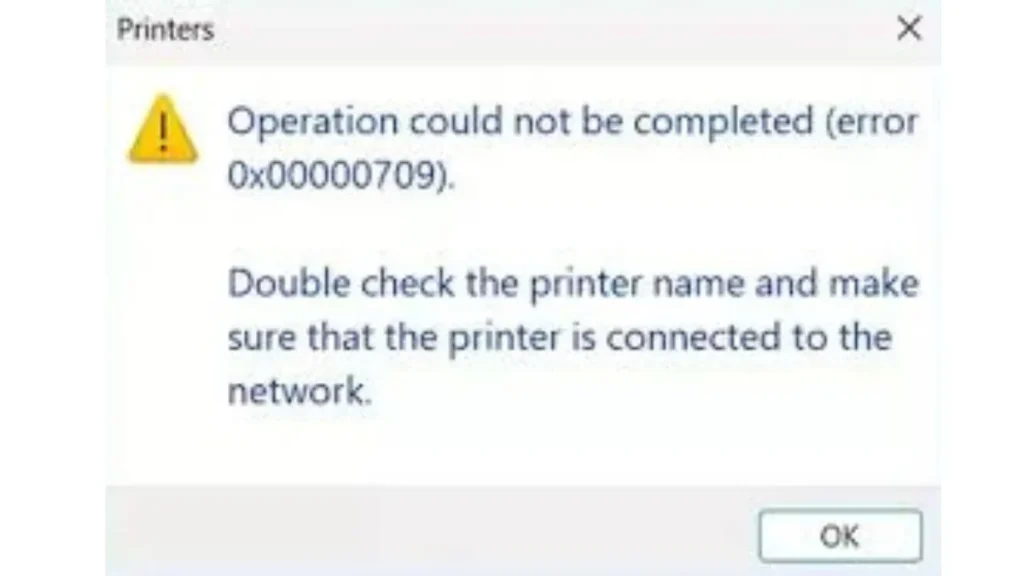
Encountering the error code 0x00000709 (Operation could not be completed error 0x00000709) while trying to connect to a shared printer in Windows 11 can be frustrating. This issue is common, especially after upgrading to Windows 11 version 22H2. It typically arises due to changes in how Windows manages network printer connections. Here’s a step-by-step guide to fix it.

Method 1: Adjust Group Policy Settings
If you’re using Windows 11 Pro or higher, you can use the Group Policy Editor to resolve this issue by configuring the RPC connection settings.
1. Open the Local Group Policy Editor:
- Press
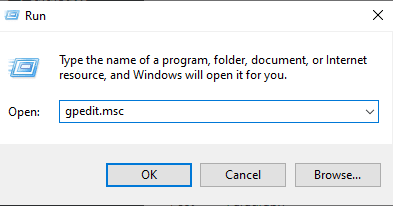
Win + Rto open the Run dialog box. - Type
gpedit.mscand press Enter.

2. Navigate to Printer Settings:
- In the left-hand menu, go to
Computer Configuration > Administrative Templates > Printers.
3. Configure RPC Connection Settings:
- Locate and double-click on Configure RPC connection settings.
- Set the policy to Enabled.
- In the dropdown menu labeled Protocol to use for outgoing RPC connections, select RPC over named pipes.
- Click OK to save your changes.
4. Restart Your Computer:
- Close the Group Policy Editor and restart your computer to apply the changes.
By enabling this setting, you’ll adjust the protocol for outgoing RPC connections to resolve the 0x00000709 error.
Method 2: Modify the Registry
If you’re using Windows 11 Home Edition (which lacks the Group Policy Editor), you can achieve the same result by editing the registry. Be cautious when modifying the registry, as incorrect changes can cause system instability. Always back up your registry before proceeding.
1. Open the Registry Editor:
- Press
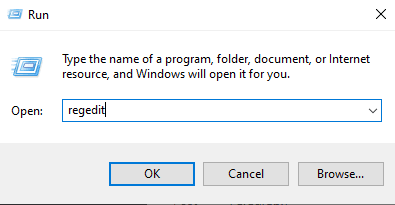
Win + Rto open the Run dialog box. - Type
regeditand press Enter.

2. Navigate to the RPC Settings:
- Go to
HKEY_LOCAL_MACHINE\Software\Policies\Microsoft\Windows NT\Printers\RPC.
3. Modify the Protocol Setting:
- If the
RPCkey does not exist, you’ll need to create it manually. - Right-click on the
Printersfolder, select New > Key, and name itRPC. - Inside the
RPCkey, create a new DWORD (32-bit) value namedRpcUseNamedPipeProtocol. - Set the value of
RpcUseNamedPipeProtocolto1.
4. Restart Your Computer:
- Close the Registry Editor and restart your system to apply the changes.
This process ensures that RPC over named pipes is enabled, allowing your system to properly communicate with the shared printer.
Additional Tips
- Check Printer Sharing Settings: Ensure that the printer is properly shared on the host computer and that you have the necessary permissions to access it.
- Update Printer Drivers: Verify that you have the latest drivers installed for the shared printer, as outdated drivers can also cause connectivity issues.
- Temporarily Disable Firewalls or Antivirus Software: Sometimes, firewalls or security software can block printer connections. Disable them temporarily to test if they are the cause.
Conclusion
The Windows 11 error code 0x00000709 can be resolved using either the Group Policy Editor or by modifying the registry, depending on your version of Windows 11. By following the steps outlined above, you should be able to connect to your shared printer without further issues. If the problem persists, consider consulting with your network administrator or contacting Microsoft Support for additional assistance.
Let us know in the comments if these methods worked for you or if you have alternative solutions!