DNG (Digital Negative) is a versatile raw image file format developed by Adobe Systems. It was designed to address compatibility issues faced by photographers when sharing and developing their work. In this article, we’ll explore what DNG files are, their advantages, and how to edit them on a Windows PC.
What is a DNG File?
- DNG stands for Digital Negative.
- It’s a type of raw file format used in digital photography, developed based on the TIFF 6.0 format.
- Unlike proprietary raw formats specific to camera manufacturers, DNG files provide greater compatibility across various software applications and platforms.
- DNG files store uncompressed image data from digital cameras, along with metadata (camera settings, lens specifics, etc.) and optional JPEG previews.
History of DNG File
Before DNG, different camera manufacturers used their own proprietary technologies for capturing RAW images. This led to compatibility issues with editing software. Adobe introduced the Digital Negative Specification in 2004 to encourage standardization. Today, tech giants like Apple, Google, and Samsung support the DNG format.
Advantages of DNG Files
- Flexibility and Future-Proofing:
- DNG files are flexible and future-proof because they are not tied to any specific camera manufacturer.
- Archiving raw images as DNG ensures access to them in the long term.
- Smaller File Size:
- DNG files are approximately 20% smaller than traditional RAW files while maintaining the same image quality.
- They save storage space and transfer time.
- Faster Performance:
- DNG files use Fast Load Data, which stores a standard-size preview within the file itself.
- This results in faster loading when opening images in Adobe Lightroom or Camera Raw.
How to Open a DNG File
Like other raw files, you can open DNG images using some of the most common photo viewing applications. Use your normal photo viewing software to call up DNG files on Windows or Mac, such as Microsoft Photos, Apple Photos, and Apple Previews. Right-click on the image on your desktop or file explorer window. Scroll down to Open With, then move right to see the list of programs that are set up to open DNG files.
How to Edit a DNG File on Windows:
To edit DNG files, we can use software applications, tools, or online editors—both free and paid. We have listed some of the best tools for editing DNG files on a Windows PC.
1. Able RAWer:
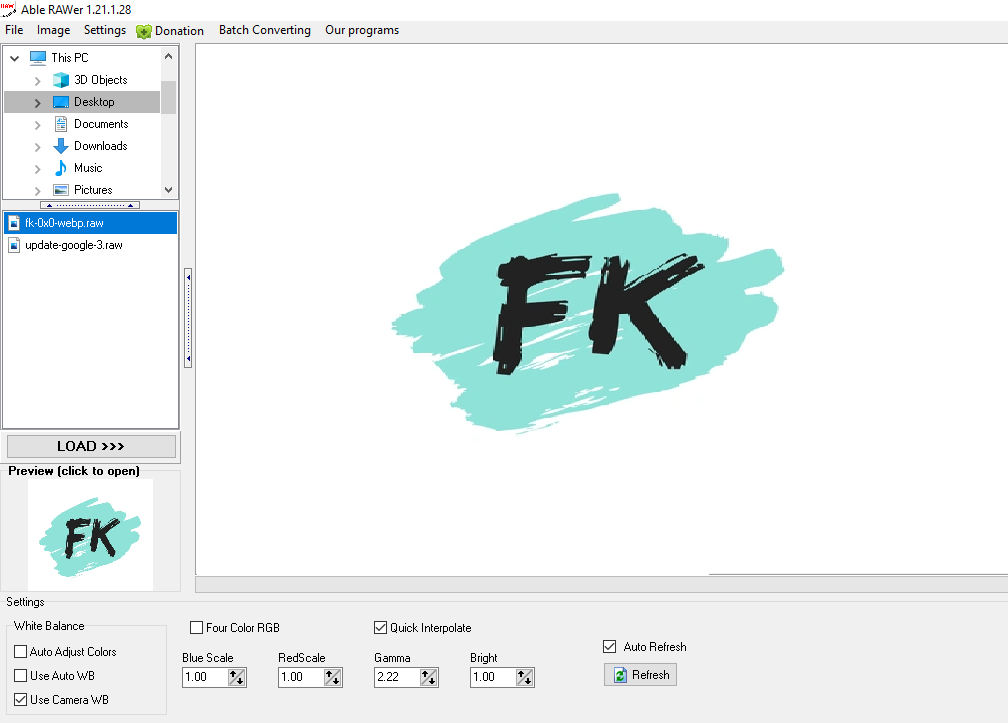
Its free Windows software is designed for viewing, editing, and correcting RAW images captured with digital cameras. It supports various RAW formats, including DNG as well as other formats like crw, cr2, nef, pef, raf, x3f, bay, orf, srf, mrw, dcr, and arw.

Download Able RAWer software from trusted sites like Filehippo.com or Softonic.com. After installation, you can open the source DNG file from file menu option. Able RAWer provides features to adjust color, apply effects, and filters. Once your editing is complete, you can save the image in formats such as PNG, GIF, JPEG, TGA, and BMP. It’s a useful tool for photographers who work with RAW files and want precise control over their photo editing process.
2. PhotoKit:
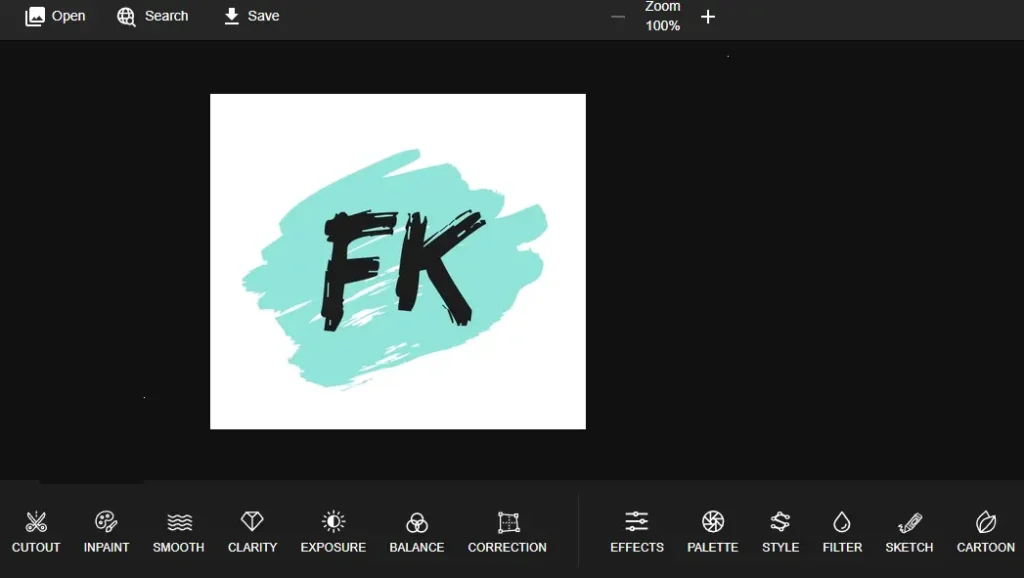
If you prefer using an online browser without installing a software tool, PhotoKit is perfect. It comes with AI-powered editing features. It’s a free online editor for DNG and other raw images. You can open it in a web browser and upload the source DNG file.

You can cut out, add clarity, adjust exposure and balance, and make corrections to the photo. We can also cartoonize images. After editing an image, you can save it in JPEG, PNG, WebP, or AVIF format.
3.ASPOSE
If you’re looking for basic photo editing tasks like cropping, resizing, or adding effects with filters, then go for the Aspose online tool.

After editing, simply upload your DNG images or drag and drop the DNG image files. Once you’re done, you can save them in your preferred output image format. It’s simple and easy to use.
4.Adobe Photoshop:
Adobe Photoshop is widely regarded as an all-time photo editing champion. It offers powerful tools and features for manipulating images, retouching photos, and creating digital art.
- To edit DNG files in Adobe Photoshop:
- Open the DNG file in Photoshop.
- Make your desired edits (adjustments, retouching, etc.).
- When you’re satisfied, go to the ‘File’ menu.
- Select ‘Save’ to save your changes back to the DNG file.
- The advantage of DNG files is that they retain the original raw data, allowing you to return to edit the image at any time. Simply open Photoshop, select ‘File’, then ‘Open’, and locate the DNG file in your file explorer window.
Conclusion
DNG files offer compatibility, smaller size, and efficient editing capabilities. Whether you’re a professional photographer or an enthusiast, understanding DNG can enhance your workflow and ensure your images stand the test of time.
Source: via

