In modern software development, establishing a consistent and reproducible development environment remains a complex and time-consuming challenge. Developers often face several issues, including:
- Inconsistent development environments across team members
- Complex setup procedures that consume hours of productive time
- Dependency conflicts and version mismatches
- Difficulty in quickly spinning up new project environments
- Barriers to onboarding new team members
To address these challenges, Daytona emerges as an innovative platform designed to eliminate common bottlenecks in development workflows. It offers a comprehensive solution that:
- Creates standardized, reproducible development environments in seconds
- Ensures consistency across different machines and operating systems
- Integrates seamlessly with popular Git platforms and IDEs
- Supports both local and cloud-based development setups
- Reduces onboarding time for new team members
- Minimizes “it works on my machine” compatibility issues
Why Use Daytona?

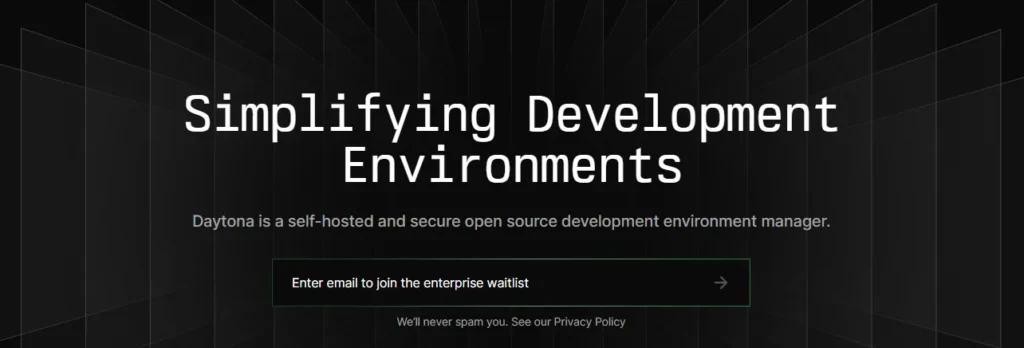
Daytona is a secure and open-source development environment manager that simplifies workflows. Imagine starting development on a Next.js app without the usual setup hassle. On average, developers lose 50% of their time setting up environments; Daytona eliminates this wasted time, allowing you to concentrate directly on coding. It seamlessly integrates with:
Turtle Beach Stealth 600 Wireless Gaming Headset
- Any Git platform: GitHub, GitLab, Bitbucket
- Any IDE: Vim, VS Code, JetBrains IDEs
- Anywhere: Localhost, AWS, Azure, GCP, Digital Ocean
The biggest advantage? Just run a single command and you’re good to go:
daytona create <REPO_URL>That’s it! Your environment is ready. Now you can focus on building features and fixing bugs rather than fussing with setups.
Using Daytona for Your Project (e.g., “Brew Finder”)
1. Install Daytona
First, ensure you have Node.js and a Next.js project set up. Then, install Daytona via npm or Yarn:
npm install daytona
# or
yarn add daytona
2. Configure Daytona
Step 1: Connect Daytona to Your Git Repositories
Daytona integrates with your Git provider to manage your code with version control. To link your Git platform, run:
daytona git-providers addFollow the on-screen prompts to authorize Daytona’s access to your repositories.
Step 2: Install a Cloud Provider
If you want to create or manage remote development environments, connect Daytona to a cloud provider:
daytona provider installChoose your desired cloud platform (AWS, GCP, Azure, etc.) and follow the prompts. Daytona will link your development environment seamlessly to that platform.
Step 3: Set a Target
A “Target” defines where your development environment runs—local Docker, remote containers, or a cloud instance. Set the target with:
daytona target setSelect the appropriate target based on your workflow. For example, choose local Docker for straightforward setups or a remote provider for cloud-based development.
Step 4: Choose Your IDE
Daytona supports all popular IDEs. You can connect it to your preferred environment (VS Code, Vim, JetBrains, etc.). Set your default IDE:
daytona ideChoose the IDE you’re most comfortable with. Daytona will streamline the connection, allowing you to open and work on your project in a fully configured environment.
3. Add a devcontainer.json to Your Repository
To standardize your development environment, add a devcontainer configuration. This ensures anyone working on the repository gets a consistent setup.
Create a .devcontainer/devcontainer.json file:
{
  "name": "Brew Finder Dev Container",
  "image": "mcr.microsoft.com/devcontainers/javascript-node",
  "forwardPorts": [3000],
  "customizations": {
    "vscode": {
      "settings": {
        "terminal.integrated.defaultProfile.linux": "bash",
        "files.autoSave": "onWindowChange",
        "editor.formatOnSave": true,
        "editor.defaultFormatter": "esbenp.prettier-vscode"
      },
      "extensions": [
        "ms-azuretools.vscode-docker",
        "ms-vscode-remote.remote-containers",
        "dbaeumer.vscode-eslint",
        "esbenp.prettier-vscode",
        "dsznajder.es7-react-js-snippets",
        "formulahendry.auto-rename-tag",
        "bradlc.vscode-tailwindcss",
        "christian-kohler.path-intellisense",
        "ms-vscode.vscode-typescript-next"
      ]
    }
  },
  "postCreateCommand": "npm i"
}
This configuration:
- Uses the
javascript-nodedev container image from Microsoft. - Forwards port
3000for easy access to your local development server. - Installs key VS Code extensions and applies productivity-oriented settings.
- Runs
npm iafter creating the container, ensuring dependencies are installed automatically.
If you’re unsure how to create a devcontainer configuration, tools like Devcontainer AI can generate it for you.
4. Create Your Workspace and Project
Now that Daytona is installed, configured, and connected, simply create your workspace and project environment with one command:
daytona create <REPO_URL>Daytona will fetch your repository, set up the pre-configured environment, and have everything ready for you to start coding.
Once the environment is created, start the Next.js development server:
npm run devYou now have a fully functional, production-like environment for your project. Start building features, writing tests, and exploring your code without worrying about lengthy configuration steps.
Final Thoughts
- Install Daytona: Get it added to your Next.js project via
npm installoryarn add. - Connect to Git: Link Daytona to GitHub, GitLab, or Bitbucket with
daytona git-providers add. - Add a Cloud Provider: Integrate AWS, Azure, GCP, or others with
daytona provider install. - Set a Target: Choose local or cloud-based environments with
daytona target set. - Choose Your IDE: Select your preferred coding environment using
daytona ide. - Configure
devcontainer.json: Standardize your setup for consistent development environments. - Create Workspace & Project: Run
daytona create <REPO_URL>to instantly set up a complete environment. - Start Coding: Run
npm run devto start your Next.js app and begin building.
With Daytona, you skip the tedious environment setup and jump straight into solving problems and shipping features. Your entire toolchain—Git integration, cloud environment, IDE configuration, and a consistent dev container—is now unified under a single, easy-to-use workflow.
By following these comprehensive steps, you’ll have Daytona successfully integrated into your Next.js application, connected to your Git repositories, set up with a cloud provider, targeted for the appropriate environment, configured in your chosen IDE, and ready for efficient development using a devcontainer.json. This complete setup streamlines collaboration, testing, and deployment for your project.
