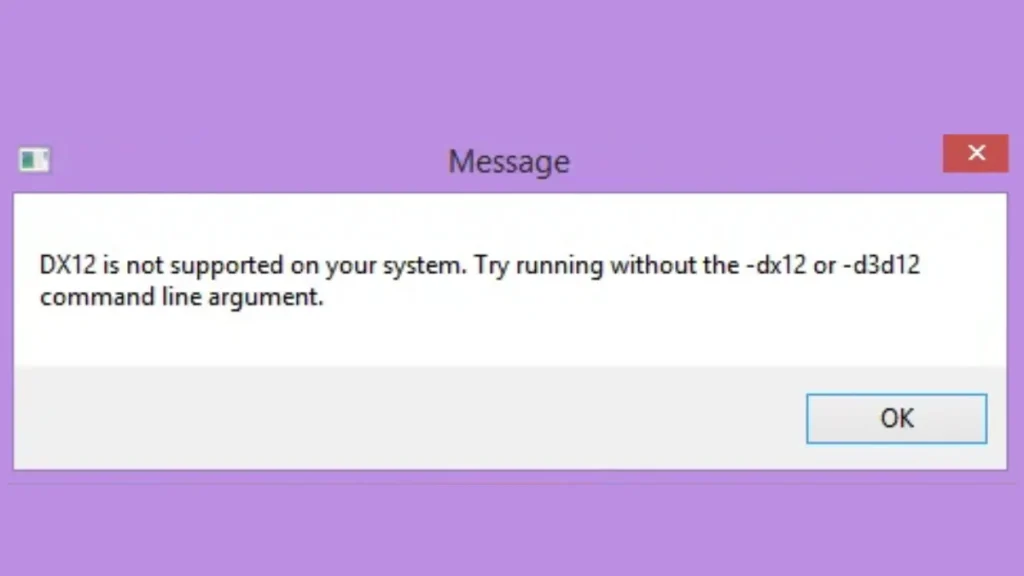
If you’re encountering DirectX 12 (DX12) error while gaming. DX12 is a powerful graphics API used in modern games, but errors can arise due to system incompatibility, outdated drivers, or software conflicts. Here’s a step-by-step guide to fixing DX12 errors and getting your games running smoothly.
1. Check if DirectX 12 is Installed
To determine whether DX12 is installed on your system:
- Press Win + R, type dxdiag, and press Enter.
- In the DirectX Diagnostic Tool, check the DirectX Version at the bottom.
- If it shows DirectX 11 or lower, proceed with the following fixes.
2. Ensure Your Windows Version is Up to Date
DirectX 12 relies on the latest Windows updates for optimal performance. You can check for updates by:
- Press Win + I to open Settings.
- Navigate to Update & Security > Windows Update.
- Click Check for updates and install any pending updates.
- Restart your computer.
Some games, like Marvel Rivals, require Windows 10 Version 1909 or later to run properly.
3. Verify Your Graphics Card’s Compatibility
Not all GPUs support DirectX 12. To check if your GPU is compatible:
- Open dxdiag and go to the Display tab.
- Look for Direct3D Feature Levels and ensure 12_0 or 12_1 is listed.
If your system has integrated graphics, some games may not support it. For instance, Marvel Rivals does not run on integrated graphics.
4. Update Your Graphics Drivers
Outdated graphics drivers are a common cause of DX12 errors. Update your drivers based on your GPU manufacturer:
- For NVIDIA: Use the NVIDIA GeForce Experience to check for updates.
- For AMD: Download drivers from AMD Support.
- For Intel: Get updates from Intel Graphics Drivers.
Sometimes, specific driver updates fix game-related DX12 issues, like the NVIDIA driver update for Marvel Rivals.
5. Use a Launch Command to Run the Game in DirectX 11
If DX12 errors persist, forcing the game to run in DX11 can be a workaround:
- For Steam:
- Open Steam and right-click on the game in your Library.
- Click Properties > General.
- In Launch Options, type
-dx11.
- For Epic Games:
- Open the Epic Games Launcher.
- Find the game, click the three dots (…), and select Manage.
- Toggle on Launch Options and enter
-dx11.
6. Repair or Reinstall DirectX
If the issue persists, reinstall DirectX:
- Download the DirectX End-User Runtime Web Installer from Microsoft.
- Run the installer and follow the on-screen instructions.
- Restart your computer.
Alternatively, run the System File Checker to repair DirectX components:
- Open Command Prompt as Administrator.
- Type
sfc /scannowand press Enter. - Wait for the scan to complete and restart your computer.
7. Contact Support
If none of the above solutions work, reach out to the game’s official support channels. Many games have dedicated help desks that provide fixes tailored to their specific errors.
Final Thoughts
DirectX 12 errors can be frustrating, but with these troubleshooting steps, you can resolve most issues quickly. Keeping your system updated, ensuring hardware compatibility, and tweaking game settings can significantly improve stability and performance. If you’ve encountered a unique DX12 error, feel free to share your solution in the comments!
For more troubleshooting tips, check out our latest guides on gaming errors and fixes.

