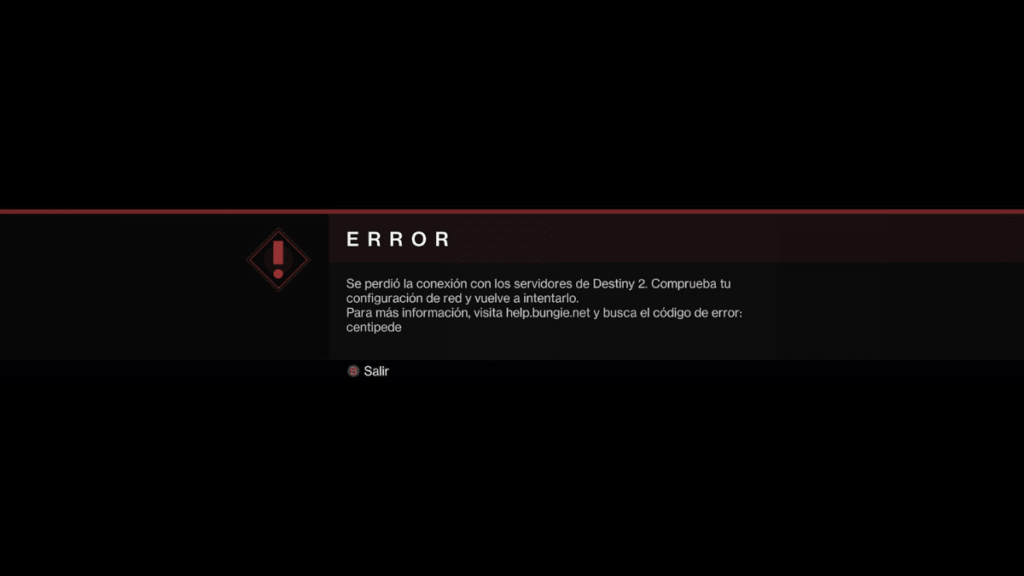
On February 20, 2025, many players reported encountering the CENTIPEDE error code in Destiny 2. This widespread issue affected players across various regions, including the United States, United Kingdom, and even as far as Australia. Players took to platforms like Reddit to share their experiences, noting difficulties logging into the game and being disconnected during gameplay.
Bungie promptly acknowledged the problem, stating they were investigating a rise in CENTIPEDE error codes on Twitter. Later, they confirmed that the issue had been resolved and apologized for the inconvenience on X. However, some players continue to face connectivity issues.
If you’re still experiencing this error, it’s recommended to follow the troubleshooting steps outlined below.
What is CENTIPEDE Error in Destiny 2?
The CENTIPEDE error code in Destiny 2 is a general networking issue that occurs when the game loses connection to Bungie’s servers. This error is often caused by network restrictions, firewall settings, or unstable internet connections. It can affect players across different platforms, including PC, PlayStation, and Xbox.
Common Causes of the CENTIPEDE Error
- Weak or Unstable Internet Connection – Poor Wi-Fi signals or network congestion can cause connection issues.
- Strict NAT Type – A strict NAT (Network Address Translation) can limit connectivity to Bungie’s servers.
- Blocked Ports – Firewalls or ISPs may block certain ports required for Destiny 2.
- VPN Interference – Using a VPN can sometimes disrupt the game’s connection.
- Server-Side Issues – Occasionally, Bungie’s servers may experience outages or high traffic, leading to connectivity errors.
How to Fix CENTIPEDE Error in Destiny 2
1. Restart Your Router and Modem
One of the simplest fixes is to restart your modem and router:
- Turn off your router and modem.
- Wait for about 30 seconds.
- Turn them back on and try reconnecting to Destiny 2.
This process can help clear temporary network glitches.
2. Use a Wired Connection
Wi-Fi connections can be unstable, especially in crowded networks. If possible, connect your gaming device directly to the router using an Ethernet cable for a more stable and faster connection.
3. Check and Change Your NAT Type
A Strict or Type 3 NAT can prevent Destiny 2 from establishing stable connections. To improve connectivity:
- Open your router settings (check your router’s manual for access instructions).
- Look for the UPnP (Universal Plug and Play) setting and enable it.
- If UPnP is unavailable, try port forwarding using these ports:
- PlayStation: 1935, 3478-3480 (TCP & UDP)
- Xbox: 88, 3074, 53, 500, 3544, 4500 (TCP & UDP)
- PC: 3074 (UDP & TCP)
- Save the changes and restart your router.
4. Change DNS Settings
Switching to a public DNS server like Google DNS or Cloudflare can sometimes resolve connectivity issues.
For Windows:
- Press
Win + R, typencpa.cpl, and press Enter. - Right-click your active network connection and select Properties.
- Select Internet Protocol Version 4 (TCP/IPv4) and click Properties.
- Choose Use the following DNS server addresses and enter:
- Preferred DNS: 8.8.8.8
- Alternate DNS: 8.8.4.4
- Click OK and restart your PC.
For PlayStation & Xbox:
- Go to Network Settings on your console.
- Choose Manual DNS Configuration.
- Enter Primary DNS: 1.1.1.1 and Secondary DNS: 1.0.0.1 (Cloudflare DNS).
- Save and restart your console.
5. Disable VPN and Firewall Restrictions
VPNs can sometimes interfere with Destiny 2’s connection. If you are using a VPN, disable it and check if the error persists.
Additionally, ensure that your firewall or antivirus software isn’t blocking Destiny 2. You may need to create an exception for the game in your firewall settings.
6. Verify Game Files (PC Users)
Corrupt game files can cause connectivity issues. If you’re playing on Steam, follow these steps:
- Open Steam and go to your Library.
- Right-click Destiny 2 and select Properties.
- Navigate to Installed Files and click Verify integrity of game files.
- Wait for the process to complete and restart the game.
7. Check Bungie’s Server Status
If none of the above solutions work, the issue might be on Bungie’s end. Visit Bungie’s official Help Twitter Page or their server status page for updates.
8. Contact Your ISP
If you continue to experience the CENTIPEDE error despite troubleshooting, contact your Internet Service Provider (ISP). Some ISPs block necessary ports for gaming, and they may need to adjust your settings.
Conclusion
The CENTIPEDE error in Destiny 2 can be frustrating, but by following these troubleshooting steps, you can improve your connectivity and enjoy a smoother gaming experience. Start with basic fixes like restarting your router and switching to a wired connection, and if the problem persists, adjust your NAT type, change DNS settings, or check Bungie’s server status.

