Undervolting a CPU like the Ryzen 9 9800X3D can improve efficiency, reduce temperatures, and even extend the lifespan of your processor. However, if done improperly, it can lead to system instability, crashes, and boot failures.
Many users have reported experiencing BSOD (Blue Screen of Death) errors, such as “HyperVision” or “Ntoskernel,” after applying aggressive undervolt settings. In some cases, the system fails to boot entirely, getting stuck in an “Automatic Repair” loop.
This guide will help you understand why these errors occur, how to recover your system, and the safest way to undervolt your CPU.
Common Errors When Undervolting 9800X3D
1. BSOD Errors:
- HyperVision BSOD (Common with excessive undervolting)
- Ntoskernel BSOD (System kernel failure due to unstable voltages)
- WHEA (Windows Hardware Error Architecture) crashes
2. Windows Boot Failure:
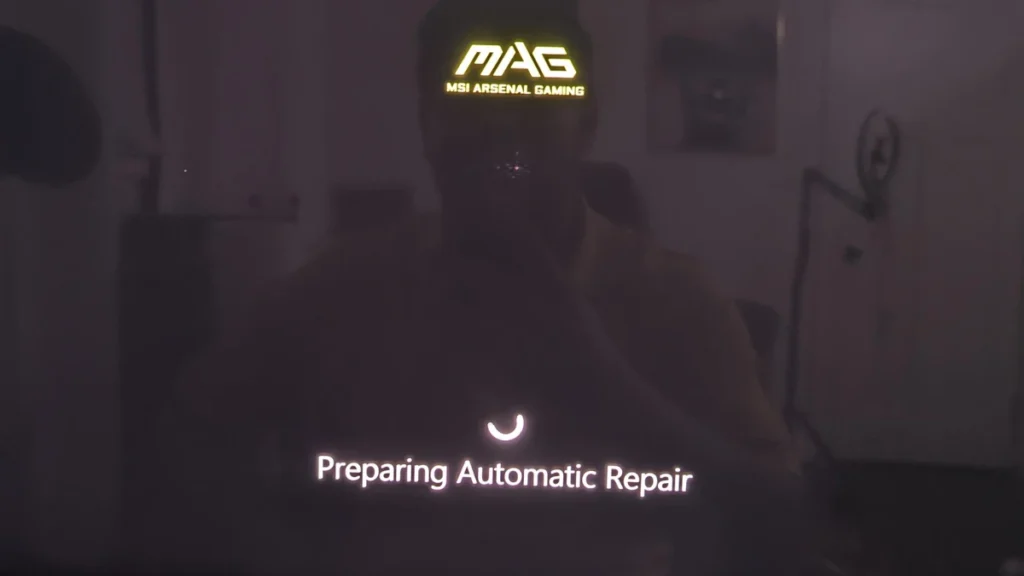
- Stuck on “Preparing Automatic Repair”
- Restart loop without reaching Windows
- Unexpected shutdowns during startup
3. Application Crashes and Instability:
- Random freezes during gaming or high CPU load
- Failure to launch certain applications
4. Clock Stretching:
- Even if your system appears stable, your CPU may reduce its clock speed under load to compensate for low voltage.
- Monitor CPU clock speeds using HWMonitor or CapFrameX to check if performance is impacted.
Why Does Undervolting Cause These Issues?
1. Too Aggressive Curve Optimizer Settings:
- A setting like “Negative 30” undervolt may be too extreme, causing instability.
- Each CPU silicon varies; not all chips can handle aggressive undervolting.
2. Voltage Dropping Below Stable Limits:
- The default voltage for the 9800X3D is around 1.2V. If undervolted to 1.075V or lower, the CPU might not get enough power under heavy loads, leading to crashes.
3. BIOS Incompatibility or Outdated Firmware:
- Some motherboards may not handle undervolting well without a BIOS update.
- Ensure the latest BIOS version is installed before attempting any undervolt.
4. Clock Stretching and Performance Drop:
- If undervolted too much, the CPU may reduce its clock speed to prevent instability, resulting in performance degradation.
- Monitor CPU behavior using CapFrameX to detect clock stretching.
5. Insufficient Stability Testing:
- Many users apply undervolt settings without running proper stress tests, leading to instability under load.
How to Recover From Boot Failure After Undervolting
If you are stuck on “Preparing Automatic Repair” or experiencing frequent BSODs after undervolting, follow these steps:
Step 1: Reset BIOS to Default
- Turn off your PC and unplug it.
- Locate the CMOS reset button on the motherboard (or remove the CMOS battery for 1 minute and reinstall it).
- Boot into BIOS (Press DEL or F2 during startup).
- Select Restore Default Settings and save changes.
- Restart your PC and check if Windows loads normally.
Step 2: Let Windows Automatic Repair Run
- If your system boots into “Preparing Automatic Repair,” let it complete the process.
- If it fails, proceed to Advanced Options > Troubleshoot.
Step 3: Boot into Safe Mode
- In Advanced Options, select Startup Settings > Enable Safe Mode.
- If the system boots successfully, undo any undervolt changes and restart.
Step 4: System Restore
- In Advanced Options, select System Restore.
- Choose a restore point before you applied the undervolt.
- Let Windows roll back and restart.
Step 5: Check for Clock Stretching and Performance Drop
- Even if your system boots, test for clock stretching using HWMonitor or CapFrameX.
- If clock speeds are significantly lower than expected under load, your undervolt is still too aggressive.
- Reduce the undervolt step-by-step to restore performance.
Step 6: Repair Windows After BSODs
- After resetting CMOS and booting into Windows, open PowerShell as Administrator.
- Run the following commands to repair system files:
dism /online /cleanup-image /restorehealth
sfc /scannow- Reboot after completion before applying BIOS changes again.
Step 7: Reinstall Windows (Last Resort)
If all else fails, you may need to reinstall Windows using a bootable USB.
How to Safely Undervolt Ryzen 9 9800X3D
If you want to undervolt your CPU without running into stability issues, follow these guidelines:
1. Start with Conservative Settings:
- Instead of setting Curve Optimizer to -30, start with -10 or -5 per core.
- Gradually decrease the voltage while testing stability.
2. Avoid Conflicting Settings:
- Do not set both a manual core voltage and a negative curve optimizer at the same time.
- Leave CPU core voltage on Auto and only adjust the Curve Optimizer.
3. Do Not Change CPU Ratio Unless Experienced:
- Keep the CPU ratio/multiplier on Auto. Modifying it can conflict with PBO and impact stability.
4. Use Motherboard’s OC Menu, Not AMD Overclocking (if unsure):
- Access PBO and Curve Optimizer from the motherboard’s own overclocking menu, which is safer and less prone to error.
5. Use Incremental Voltage Adjustments:
- Lower voltage in small increments (e.g., from 1.2V to 1.1V, then test before going further).
6. Use a Reliable Stability Test:
- The best stress test is AIDA64’s system stability test.
- Enable the following options: Stress CPU, Stress FPU, Stress Cache, and Stress System Memory.
- Run the test for at least 10 minutes (or overnight) to check for crashes.
7. Update BIOS & Chipset Drivers:
- Ensure your motherboard BIOS and AMD chipset drivers are up to date for better stability.
8. Monitor System Performance:
- Use HWInfo or Ryzen Master to track temperatures, voltage, and clock speeds.
- If undervolting causes lower performance or crashes, revert to a safer setting.
9. Memory Configuration:
- Using 128GB RAM (4x32GB) can reduce memory stability.
- If possible, use 2x64GB kits or 2x16GB Hynix A-die for better performance and stability with EXPO.
Conclusion
Undervolting the Ryzen 9 9800X3D can be beneficial but requires careful adjustments. If you experience BSOD errors or boot failures, revert your settings and start with conservative undervolting values. Always test stability and monitor system health to prevent crashes.
Avoid conflicting BIOS settings, don’t adjust core ratios manually, and test thoroughly with trusted tools like AIDA64. By following these best practices, you can achieve a cooler, more efficient system without sacrificing stability.
Have you experienced issues while undervolting your CPU? Share your thoughts and solutions in the comments!

