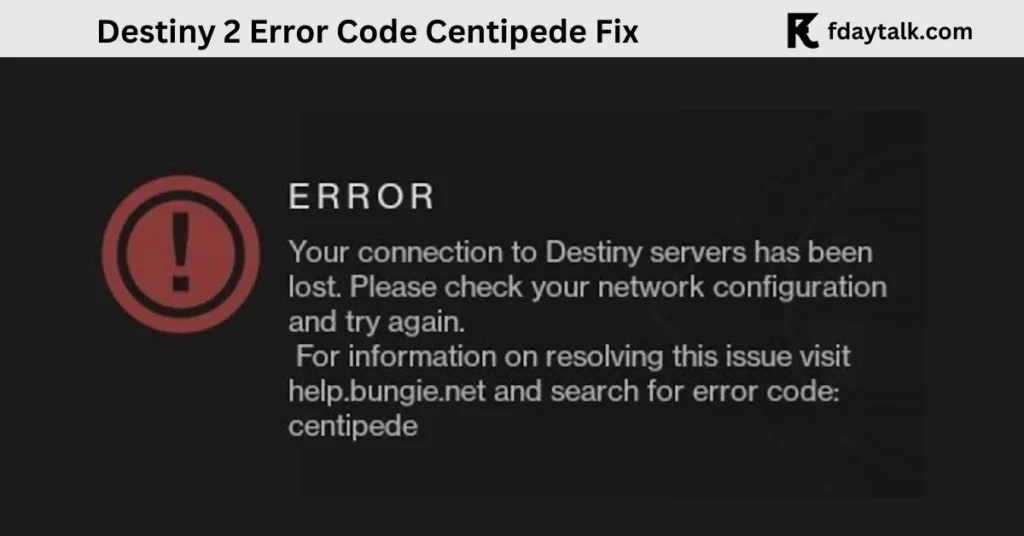
Error Code Centipede is a common networking issue in Destiny 2 that prevents players from connecting to Bungie’s servers. This error is often caused by unstable connections, strict NAT types, packet loss, or ISP-related restrictions. If you’ve encountered this frustrating error, don’t worry—we’ve compiled a comprehensive guide to help you troubleshoot and fix it.
What Causes Error Code Centipede?
Bungie has identified Centipede as a general networking error that occurs due to:
- Weak or unstable internet connections (Wi-Fi issues, ISP restrictions, or regional outages).
- Strict or Type 3 NAT settings, which can block certain game-related connections.
- ISP-imposed traffic limitations preventing communication with Bungie’s servers.
- Packet loss caused by poor routing or congested networks.
In some cases, Bungie has observed geographic clusters of users experiencing high packet loss, particularly in certain regions at specific times. While these issues often resolve on their own, users can take steps to improve their connectivity and prevent frequent disconnections.
How to Fix Error Code Centipede in Destiny 2
Follow these step-by-step troubleshooting methods to resolve the error and regain access to Destiny 2.

1. Switch to a Wired Connection
A wired (Ethernet) connection provides a more stable internet connection compared to Wi-Fi. If possible, connect your gaming device directly to your router using an Ethernet cable.
If you must use Wi-Fi, ensure:
- You are close to the router.
- There are no major obstructions or interference from other devices.
2. Check Your NAT Type & Open Ports
A Strict or Type 3 NAT can limit your ability to connect to Bungie’s servers. To improve connectivity, set your NAT type to Open (Type 1) or Moderate (Type 2).
How to Check NAT Type:
- Open Command Prompt (Windows) or Terminal (Mac).
- Type:
ipconfig /all(Windows) ornetstat -rn(Mac). - Look for your NAT type in your network settings.
How to Change NAT Type (Router Settings):
1. Enable UPnP (Universal Plug and Play):
- Go to your router’s settings by entering
192.168.1.1in your browser. - Locate UPnP settings and enable it.
2. Port Forwarding (Optional Advanced Fix):
If UPnP doesn’t work, manually port forward the following ports for Destiny 2:
- PC (Steam & Epic Games): 3074, 3097 (UDP)
- PlayStation: 1935, 3478-3480 (TCP/UDP)
- Xbox: 88, 500, 3074, 3544, 4500 (UDP)
3. Adjust DNS Settings
Using public DNS servers like Google DNS or Cloudflare DNS can improve connectivity.
Steps to Change DNS:
- Open Network Connections:
- Press Win + R, type
ncpa.cpl, and hit Enter.
- Press Win + R, type
- Right-click your active connection (Wi-Fi/Ethernet) → Properties.
- Select Internet Protocol Version 4 (TCP/IPv4) → Click Properties.
- Choose Use the following DNS server addresses:
- Primary DNS:
8.8.8.8(Google) or1.1.1.1(Cloudflare) - Secondary DNS:
8.8.4.4(Google) or1.0.0.1(Cloudflare)
- Primary DNS:
- Click OK, restart your PC, and try launching Destiny 2.
4. Restart Your Network Devices
Power cycle your modem and router to refresh the connection:
- Turn off your modem/router and unplug them for 30 seconds.
- Plug them back in and wait for the network to stabilize.
- Try reconnecting to Destiny 2.
5. Disable VPNs & Firewalls
VPNs and strict firewall settings can block Destiny 2’s connection.
- If using a VPN, disconnect it and try launching the game.
- Check Windows Firewall or antivirus software to ensure Destiny 2 is whitelisted.
6. Verify Game Files & Reinstall the Game
If the issue persists, your game files might be corrupted.
Verify Integrity of Game Files (Steam & Epic Games)
Steam:
- Open Steam and go to Library.
- Right-click Destiny 2 → Properties → Installed Files.
- Click Verify integrity of game files.
Epic Games Launcher:
- Open Epic Games → Go to Library.
- Click ⋮ next to Destiny 2 → Verify.
If verification doesn’t work, try reinstalling the game.
7. Run Connection Diagnostics (TRACERT)
If you’re still experiencing issues, check if there’s a routing problem between your ISP and Bungie’s servers.
How to Run TRACERT:
- Open Command Prompt as an administrator.
- Type:
tracert 8.8.8.8and press Enter. - If you see high latency (above 200ms) or failed hops, your ISP might be causing the issue.
If your connection is unstable, contact your ISP and report packet loss.
8. Try a Temporary VPN Workaround
Some players have successfully bypassed Error Code Centipede by:
- Enabling a VPN to connect to the game.
- Reaching the character selection screen.
- Turning off the VPN and reconnecting to avoid high ping issues.
This isn’t a permanent fix but may help some users.
Additional Troubleshooting Based on User Reports
- If You Also See Error Code “Plum”: This indicates an issue with BattleEye anti-cheat. Disable Steam’s Xbox Controller Support if using a controller.
- For Spectrum ISP Users: Some players reported that manually setting a static IP address and adjusting DNS resolved the issue.
- For Xbox Users: Clearing console cache (holding the power button for 10 seconds) has helped some users.
Final Thoughts
If you’ve tried all the steps above and are still encountering Error Code Centipede, the issue might be beyond your control due to regional outages or ISP-level restrictions. You can:
- Check Bungie’s official Twitter for server status updates.
- Contact your ISP to report persistent packet loss or throttling.
- Submit a support ticket to Bungie if the issue persists.
We hope this guide helps you get back into the game. If you’ve found any additional fixes, share them in the comments!