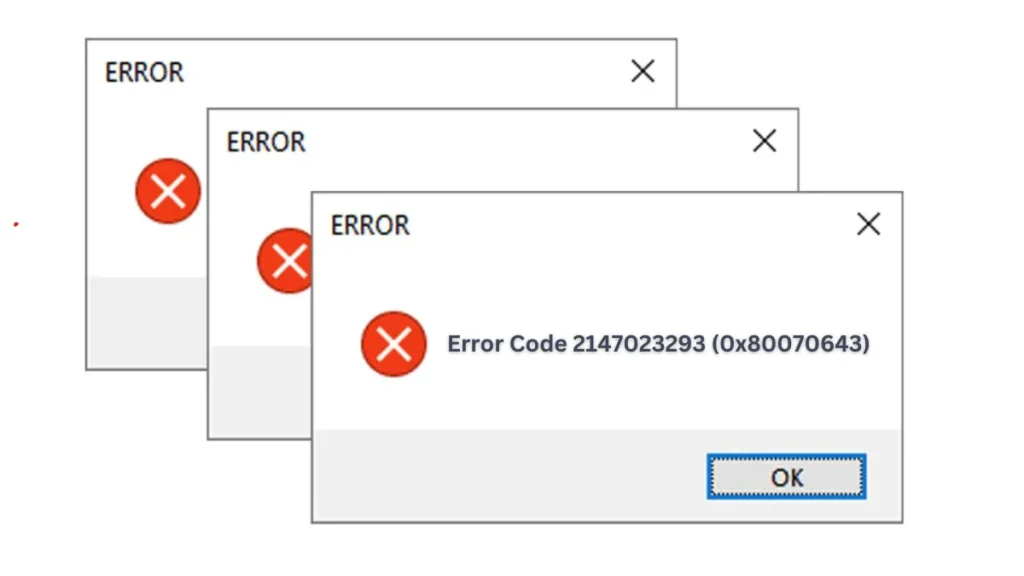
If you’re using an older computer and encountering error code -2147023293 while trying to update your system. This error, also known as 0x80070643, typically appears when Windows Update runs into installation issues. Fortunately, there are several steps you can take to troubleshoot and fix the problem—possibly even making your PC ready for an upgrade to Windows 11.

What Does Error Code 2147023293 Mean?
Error -2147023293 translates to Windows Update Error 0x80070643, which usually indicates that an update failed to install properly. This can happen due to a variety of reasons, including:
- Corrupted update components
- Outdated device drivers
- Incompatible system settings
- Insufficient disk space
Step 1: Check Windows 11 Compatibility
Before proceeding, ensure your system meets the minimum requirements for Windows 11:
- Processor: 1GHz or faster with 2 or more cores, 64-bit only
- RAM: 4GB or more
- Storage: 64GB or more
- TPM 2.0 and Secure Boot must be enabled
Use the official PC Health Check Tool from Microsoft to verify compatibility.
Step 2: Run the Windows Update Troubleshooter
Let Windows try to fix itself first:
- Go to Settings > System > Troubleshoot > Other troubleshooters
- Click Run next to Windows Update
- Follow the on-screen instructions to detect and resolve issues
Step 3: Reset Windows Update Components
To clear out potential corruption in the update files:
- Open Command Prompt as Administrator
- Enter the following commands one by one:
net stop wuauserv
net stop cryptSvc
net stop bits
net stop msiserver
ren C:\Windows\SoftwareDistribution SoftwareDistribution.old
ren C:\Windows\System32\catroot2 catroot2.old
net start wuauserv
net start cryptSvc
net start bits
net start msiserver- Close Command Prompt and try updating again.
Step 4: Update Device Drivers
Outdated drivers often interfere with updates:
- Right-click Start > Device Manager
- Look for any devices with a yellow warning icon
- Right-click and choose Update driver
- For best results, visit your computer manufacturer’s website and download the latest drivers
Step 5: Free Up Disk Space
Windows needs room to install updates. Ensure:
- At least 64 GB free on your system drive
- Empty the Recycle Bin and remove unnecessary files using Disk Cleanup
- Consider moving large files to an external drive temporarily
Step 6: Perform a Clean Boot
To avoid software conflicts during updates:
- Press Windows + R, type
msconfig, and hit Enter - Under the Services tab, check Hide all Microsoft services, then click Disable all
- Go to the Startup tab and click Open Task Manager
- Disable all startup items
- Restart your PC and try updating again
Step 7: Manually Install the Update
If a specific update keeps failing:
- Go to the Microsoft Update Catalog
- Search for the update’s KB number
- Download and install it manually based on your system architecture (e.g., x64)
Step 8: Use the Windows 11 Installation Assistant
If your PC is compatible but still won’t upgrade:
- Download the Windows 11 Installation Assistant
- Follow the prompts to force the upgrade manually
Final Tip: Seek Professional Support if Needed
If the issue persists despite all efforts, consider:
- Contacting your PC manufacturer’s support (HP, Dell, Lenovo, etc.)
- Getting assistance from a local technician
- Reinstalling Windows cleanly if the system is severely corrupted
Final Thoughts
While error code -2147023293 (0x80070643) can be frustrating, it’s usually fixable with the right steps. Whether you’re just trying to install regular updates or planning to upgrade to Windows 11, following this guide should help you get your system back on track.

