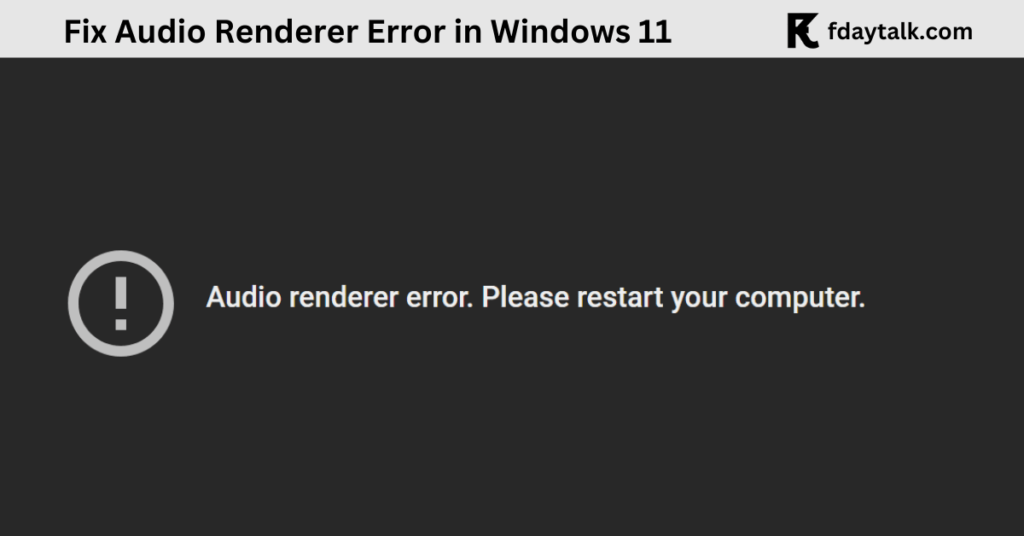
The “Audio Renderer Error” is a common issue in Windows 11 that prevents users from playing audio, especially on platforms like YouTube. If you are facing this error, don’t worry! This guide provides various solutions to fix it and restore normal audio playback.
Reasons for Audio Renderer Error

- Outdated or corrupted audio drivers
- Conflicts between different audio devices
- System glitches or software bugs
- Hardware acceleration issues in browsers
- Problems with Windows Audio Services
How to Fix Audio Renderer Error in Windows 11
1. Disconnect and Reconnect Audio Devices
Sometimes, simply unplugging and reconnecting your audio devices can fix the issue.
- Unplug your headphones or external speakers.
- Wait for a few seconds and then reconnect them.
- Restart your media playback and check if the error persists.
2. Restart Your Computer
A simple system restart can resolve minor glitches affecting audio playback.
- Click Start > Power > Restart.
- Once your system restarts, check if the audio works properly.
3. Update or Roll Back Audio Drivers
If the problem is due to outdated or corrupted drivers, updating them may help.
To Update Audio Drivers:
- Press
Win + Xand select Device Manager. - Expand Sound, video, and game controllers.
- Right-click your audio device and select Update driver.
- Choose Search automatically for drivers and follow the prompts.
To Roll Back Audio Drivers:
- Open Device Manager.
- Right-click your audio device and choose Properties.
- Go to the Driver tab and click Roll Back Driver (if available).
4. Disable and Re-enable Audio Devices
- Open Device Manager and expand Audio inputs and outputs.
- Right-click your audio device and choose Disable device.
- Wait for a few seconds, then right-click the device again and choose Enable device.
- Check if the audio issue is resolved.
5. Run the Windows Audio Troubleshooter
- Open Settings (
Win + I). - Navigate to System > Troubleshoot > Other troubleshooters.
- Click Run next to Playing Audio.
- Follow the on-screen instructions to detect and fix the issue.
6. Restart Windows Audio Service
- Press
Win + R, typeservices.msc, and press Enter. - Locate Windows Audio, right-click it, and select Restart.
- Restart your computer and check if the issue is fixed.
7. Disable Hardware Acceleration in Browser
If the issue occurs while streaming online, try disabling hardware acceleration in your browser.
For Google Chrome:
- Open Chrome and go to Settings (
chrome://settings/). - Scroll down and click Advanced.
- Under System, turn off Use hardware acceleration when available.
- Restart Chrome and check if the issue is resolved.
8. Clear Browser Cache and Cookies
If you are facing the error while using a browser, clearing cache and cookies might help.
- Open your browser and go to settings.
- Find the Privacy & Security section and select Clear browsing data.
- Choose Cached images and files and Cookies and other site data.
- Click Clear Data and restart your browser.
9. Disable Audio Enhancements
- Right-click the Speaker icon in the taskbar and select Sounds.
- Go to the Playback tab.
- Right-click your audio device and choose Properties.
- Under the Enhancements tab, check Disable all enhancements.
- Click Apply and OK.
Final Thoughts
The “Audio Renderer Error” in Windows 11 can be frustrating, but with the above solutions, you should be able to fix it quickly. If none of these methods work, you may need to check for Windows updates or perform a system restore.
Let us know in the comments which solution worked for you!